How to fit laminate flooring

Laminate flooring is a stylish, durable and budget-friendly alternative to real wood flooring, and it’s easy to install yourself if you have the right equipment and know-how
Laying your own laminate flooring may seem like a daunting task, but it’s a cost-effective and simple way to renovate a room.
READ MORE: 41 fabulous flooring ideas
Factoring in labour costs and the price of buying your own tools and materials, you could save yourself between £150 and £350 by taking the DIY route according to MyJobQuote, so it’s definitely worth considering if you’re looking to refurbish on a budget.
Using advice from Marc Husband from Leader Floors, we’ve put together a comprehensive guide for laying your own laminate floor and looking after it once it's installed.
What you'll need
Before you get started, make sure you have the following materials, tools and safety equipment:
Materials
- Underlay
- Flooring spacers
Tools
- Tapping block
- Pull bar
- Workbench
- Clamps
- Calculator
- Hand saw or jigsaw
- Chisel
- Hammer
- Pencil
- Ruler
- Tape measure
- String line spirit level
Personal equipment
- Safety goggles
- Knee pads
- Dust mask
- Earmuffs
How to measure a room for flooring
Getting the exact measurements of your floor space is the crucial first step for successfully fitting laminate flooring.
The size of square or rectangular rooms can easily be measured by multiplying the width by the length of the floor, but features such as windows, alcoves and chimney breasts may mean that additional measurements are needed to create the perfect fit.
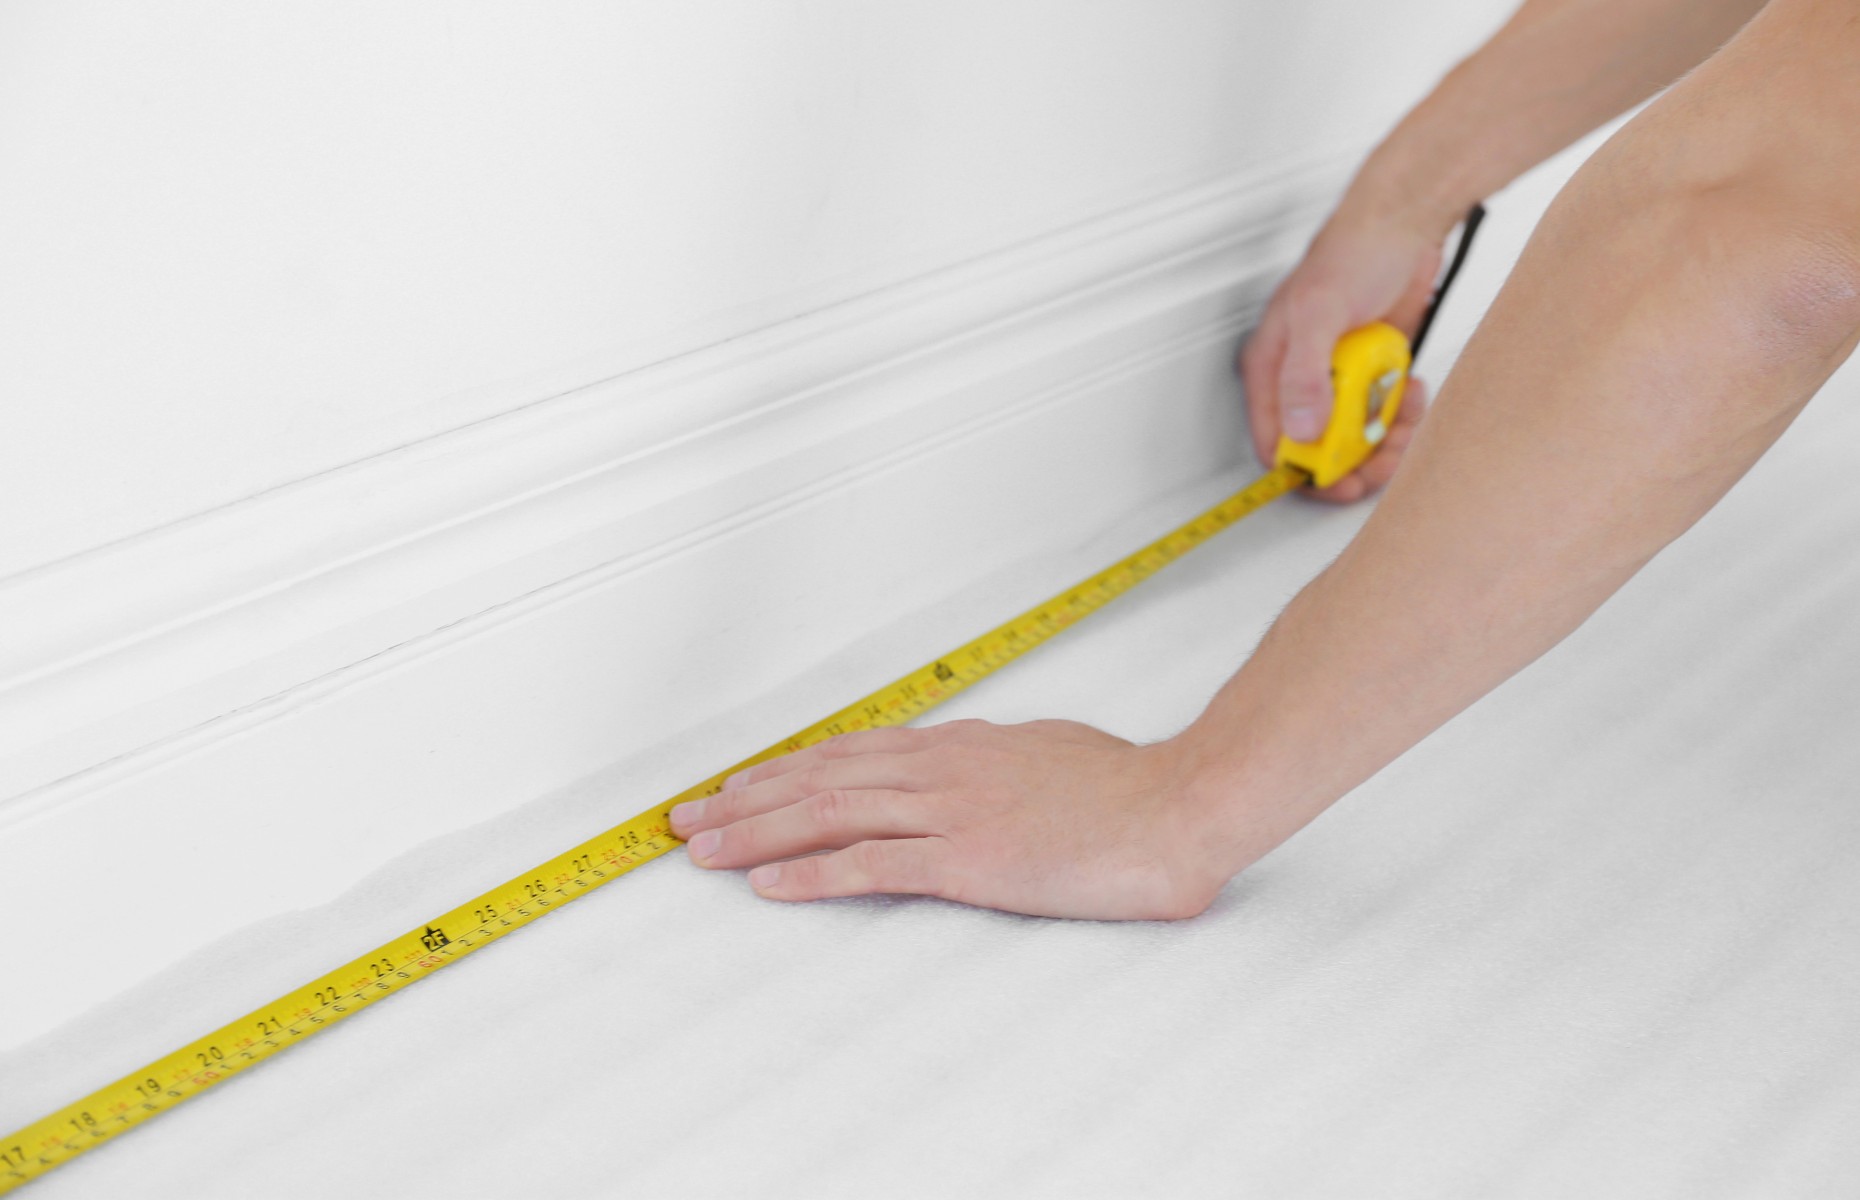
It can be helpful to draw up a rough sketch of your room and write out the measurements, and taking them two or three times should ensure your numbers are right.
Remember to measure any door frames or room trims where you want the laminate to go underneath.
Adding an extra 10% to your final dimensions will also give you a little more wiggle room when it comes to small errors or tweaks that might crop up later on.
Preparing your floor
How you prepare your floor before you lay the laminate is key if you want your new floor to look good and last a long time.
Firstly, laminate flooring should always be laid on a level, smooth, clean and dry surface, which means that any existing carpet, tiles, vinyl or underlay flooring have to be removed, as well as protruding screws and nails.
Running a hoover over the surface and scraping off visible patches of adhesive will give the finished floor a much smoother look.
Removing the skirting boards and reinstalling them once the floor is fitted is another way to get a clean and even finish.
One step often forgotten in the prep stage is acclimatising the laminate floor.
To do this, simply keep your new flooring in the room where it’s going to be installed for at least 48 hours before laying it. This will help to stabilise the moisture levels in the flooring and it will make a huge difference to the quality of your finished surface.
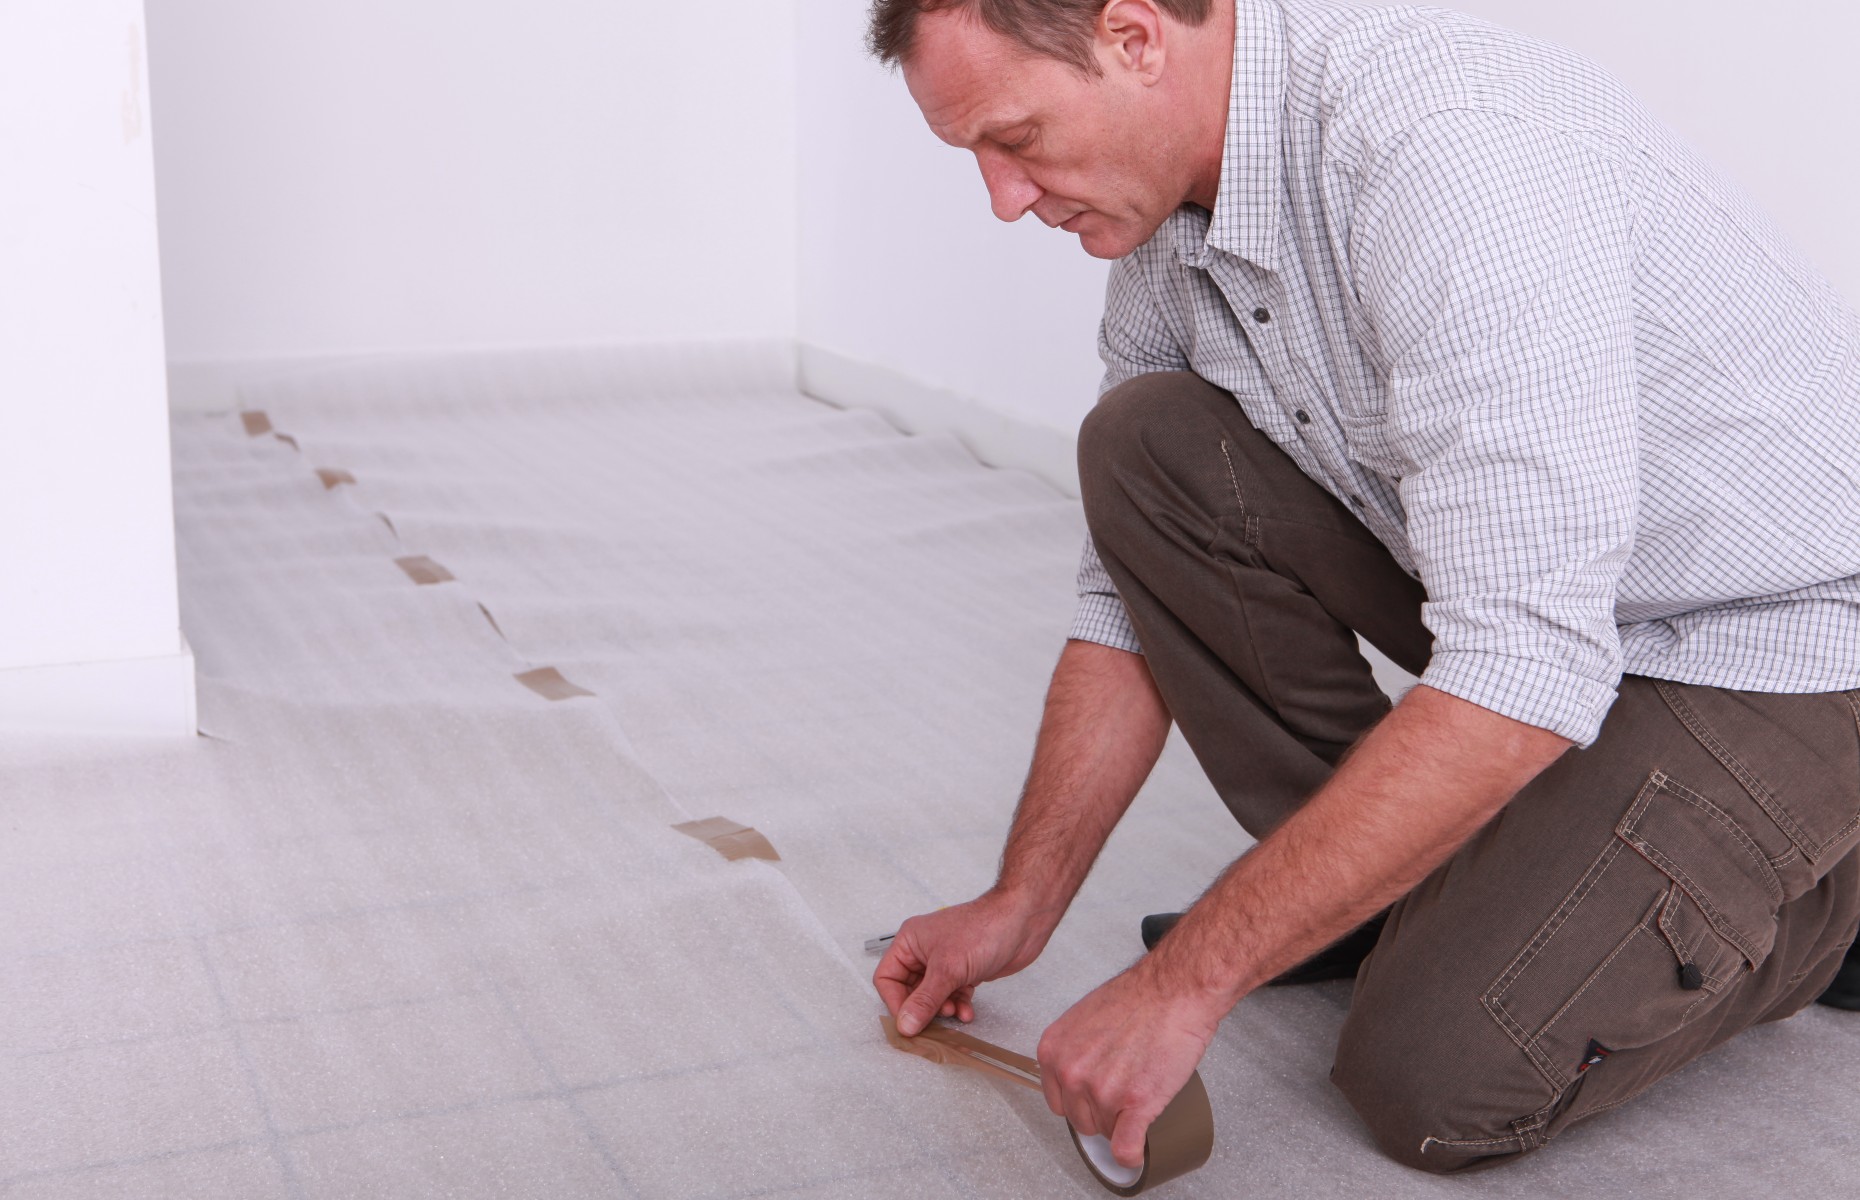
Laminate flooring underlay
Underlay is sometimes seen as an additional extra when it comes to laminate flooring, but it can totally transform the look, feel and performance of your new floor.
The right underlay will absorb shock and noise, while adding comfort and acting as an insulator, which could save you money on your energy bills, so it's worth considering adding one in before you lay down your laminate boards.
There is a lot of choice out there when it comes to underlay, so you’ll need to do some research as to what’s best for you.
Thicker options offer better soundproofing, which might suit flooring upstairs, while underlay with a built-in damp-proof membrane (DPM) is a good choice for bathrooms and kitchens as it protects against moisture damage.
Most people opt for a fibreboard underlay for wood and laminate flooring as it offers good heat insulation and can cover any small dents or protrusions that you couldn’t iron out while prepping your floor.
Make sure your underlay covers the entire floor and trim around any awkward spots. Lay the lengths parallel and use masking tape to stick them together.
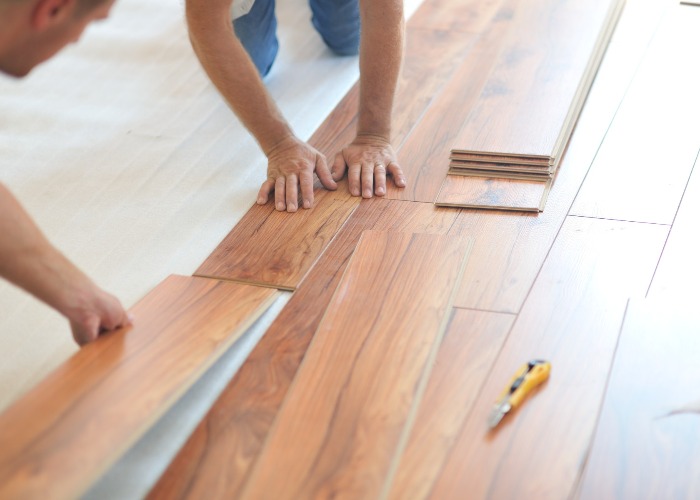
How to install laminate flooring
Once your floor is prepared and the underlay is in place, it’s time to install the laminate flooring.
Before you get started, consider which direction you want the boards to lie in. Typically they lie parallel to the longest wall, but this can vary from room to room.
-
Starting at the left-hand corner of the wall with the door, lay the first piece of laminate with the ‘tongue’ side facing the wall. This is the edge where the plank overhangs, and it should allow the next row to click into place easily.
-
Once your first board is in place, move it away from the wall slightly so you can insert the flooring spacers between the board and the wall. This will create an expansion gap.
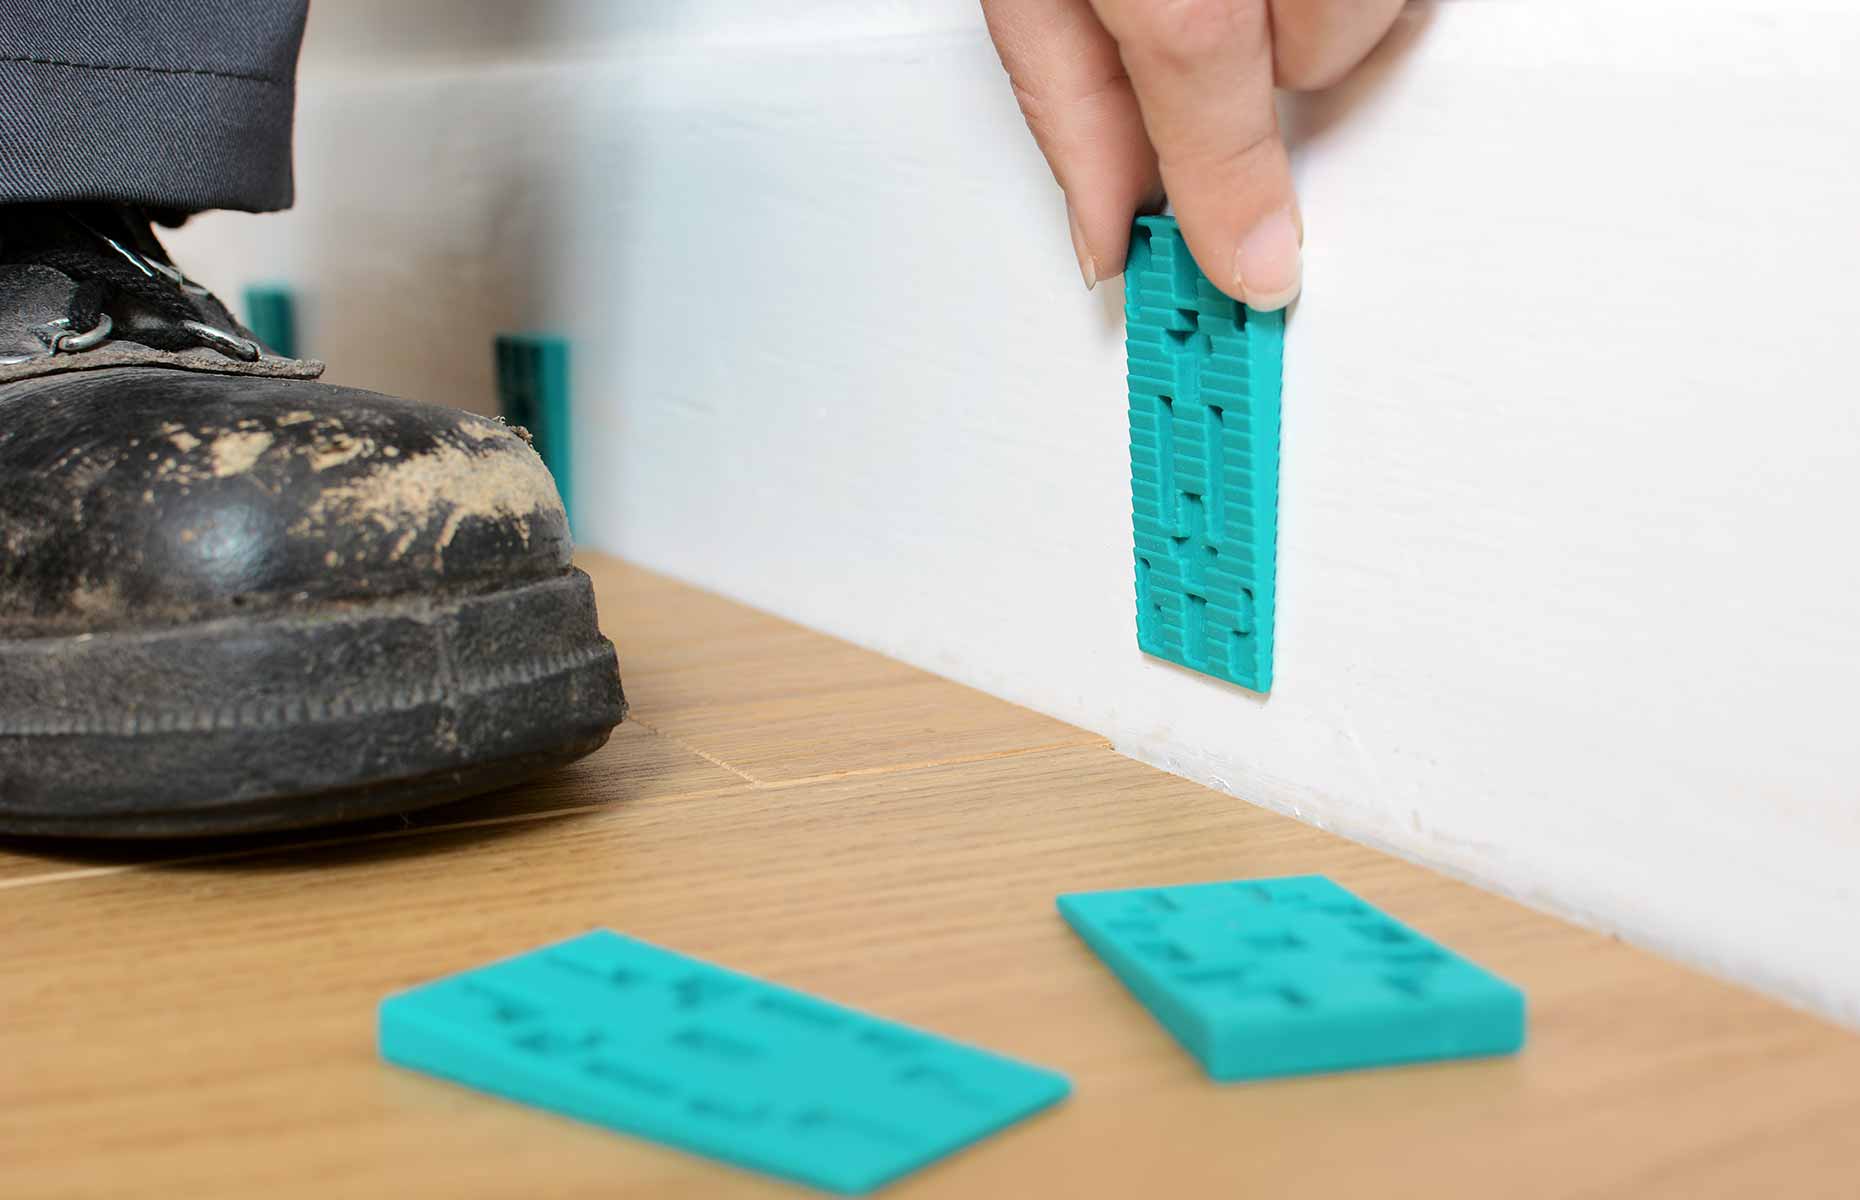
-
Then, line your second board up with the end of the first and press down to click it into position. Remember to maintain the expansion gap to the wall with the spacers.
-
Continue to lay the boards in this way until you reach the end of the room. Once you’ve completed the first row, check that it is perfectly straight using a string line – a spirit level used for longer distances.
-
To fill the gap at the end of the row, lay a full board down parallel to the first row and flip it over so that it’s upside down with the groove edge still facing you. The other end should be against the wall spacer.
-
Use a pencil and a ruler or a try square to mark a cutting guideline that’s parallel with the end of the previous board.
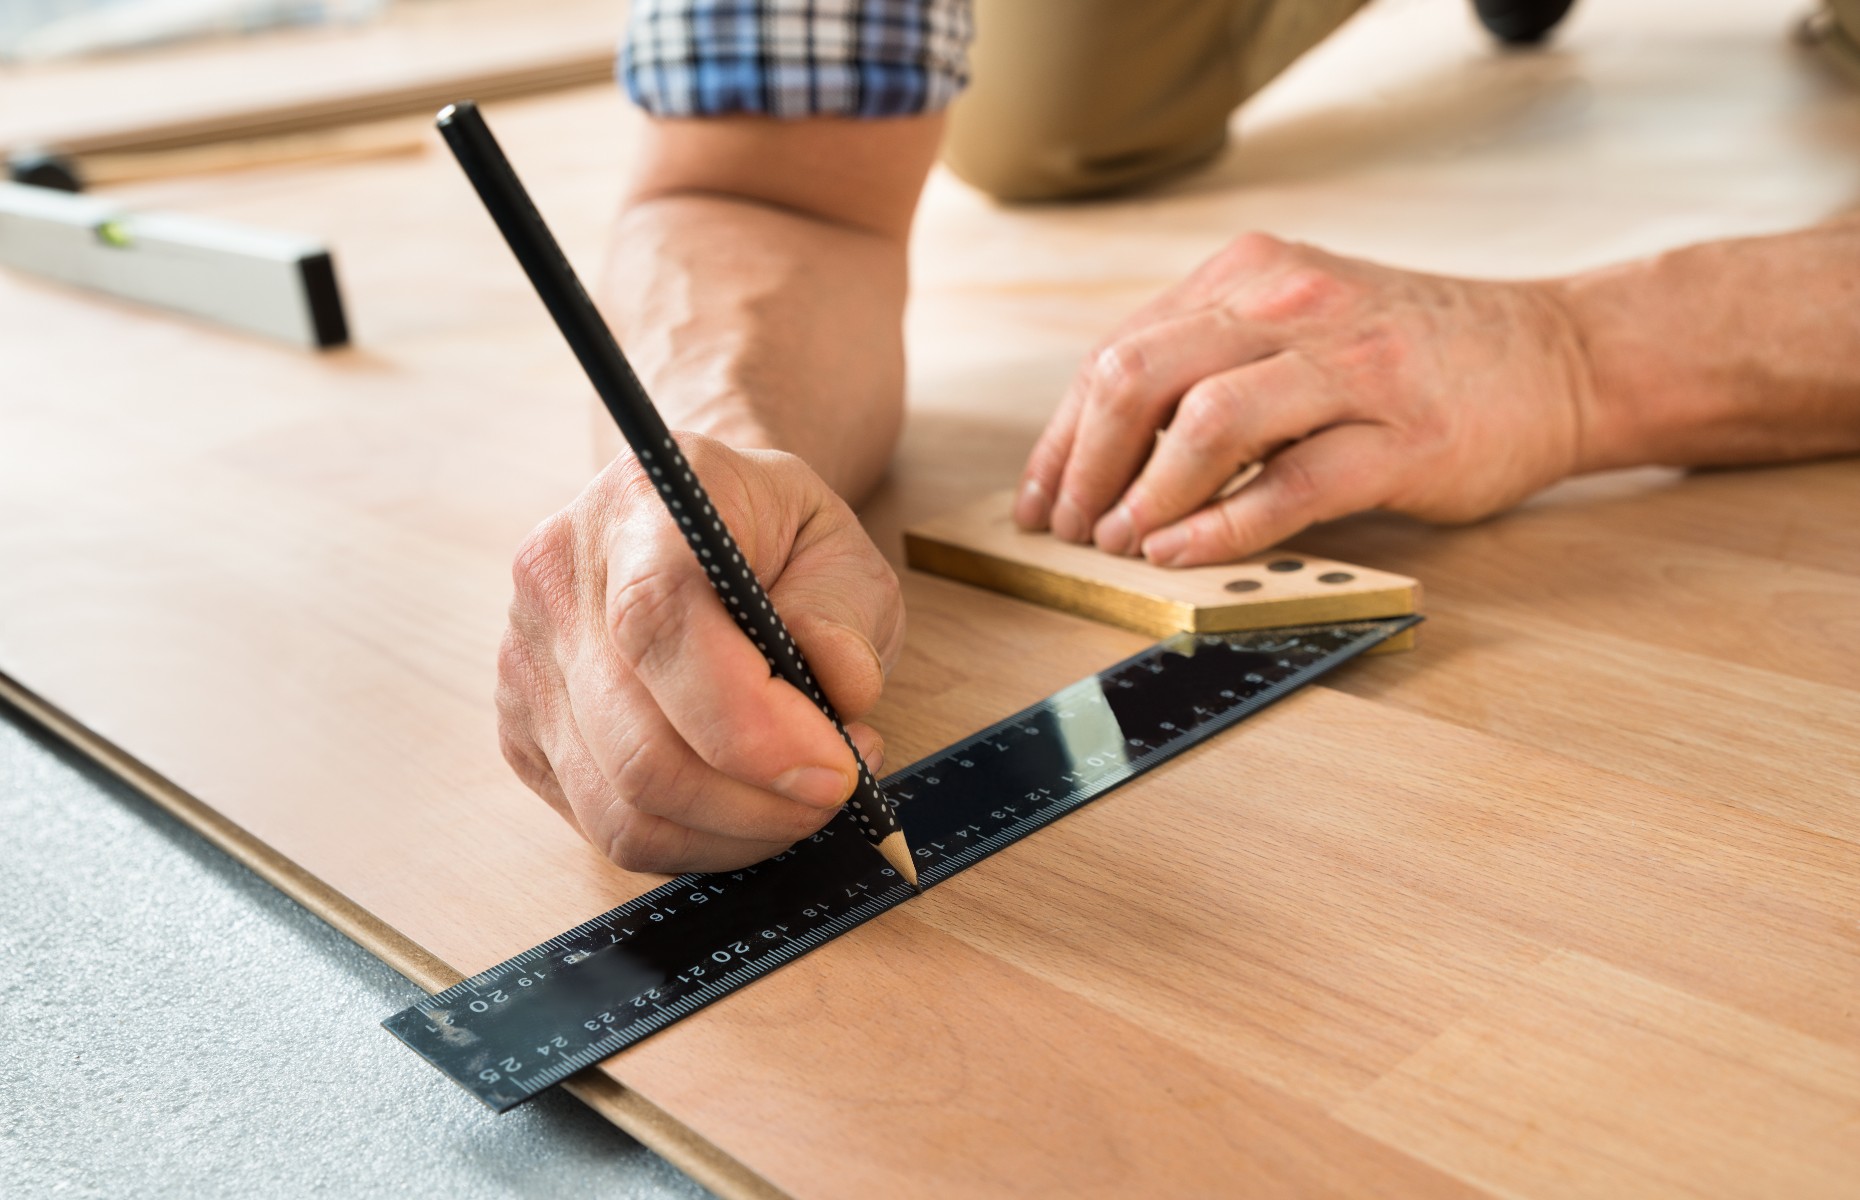
- Take your marked board and clamp it in your workbench. Once secure, cut along the line with a jigsaw saw. Place the newly cut piece into position to complete the first row of flooring.
- To start the next row, use the offcut from the previous board if it’s at least 300mm long. If the offcut is less than 300mm in length, start the row with a new board that has been sawn in half.
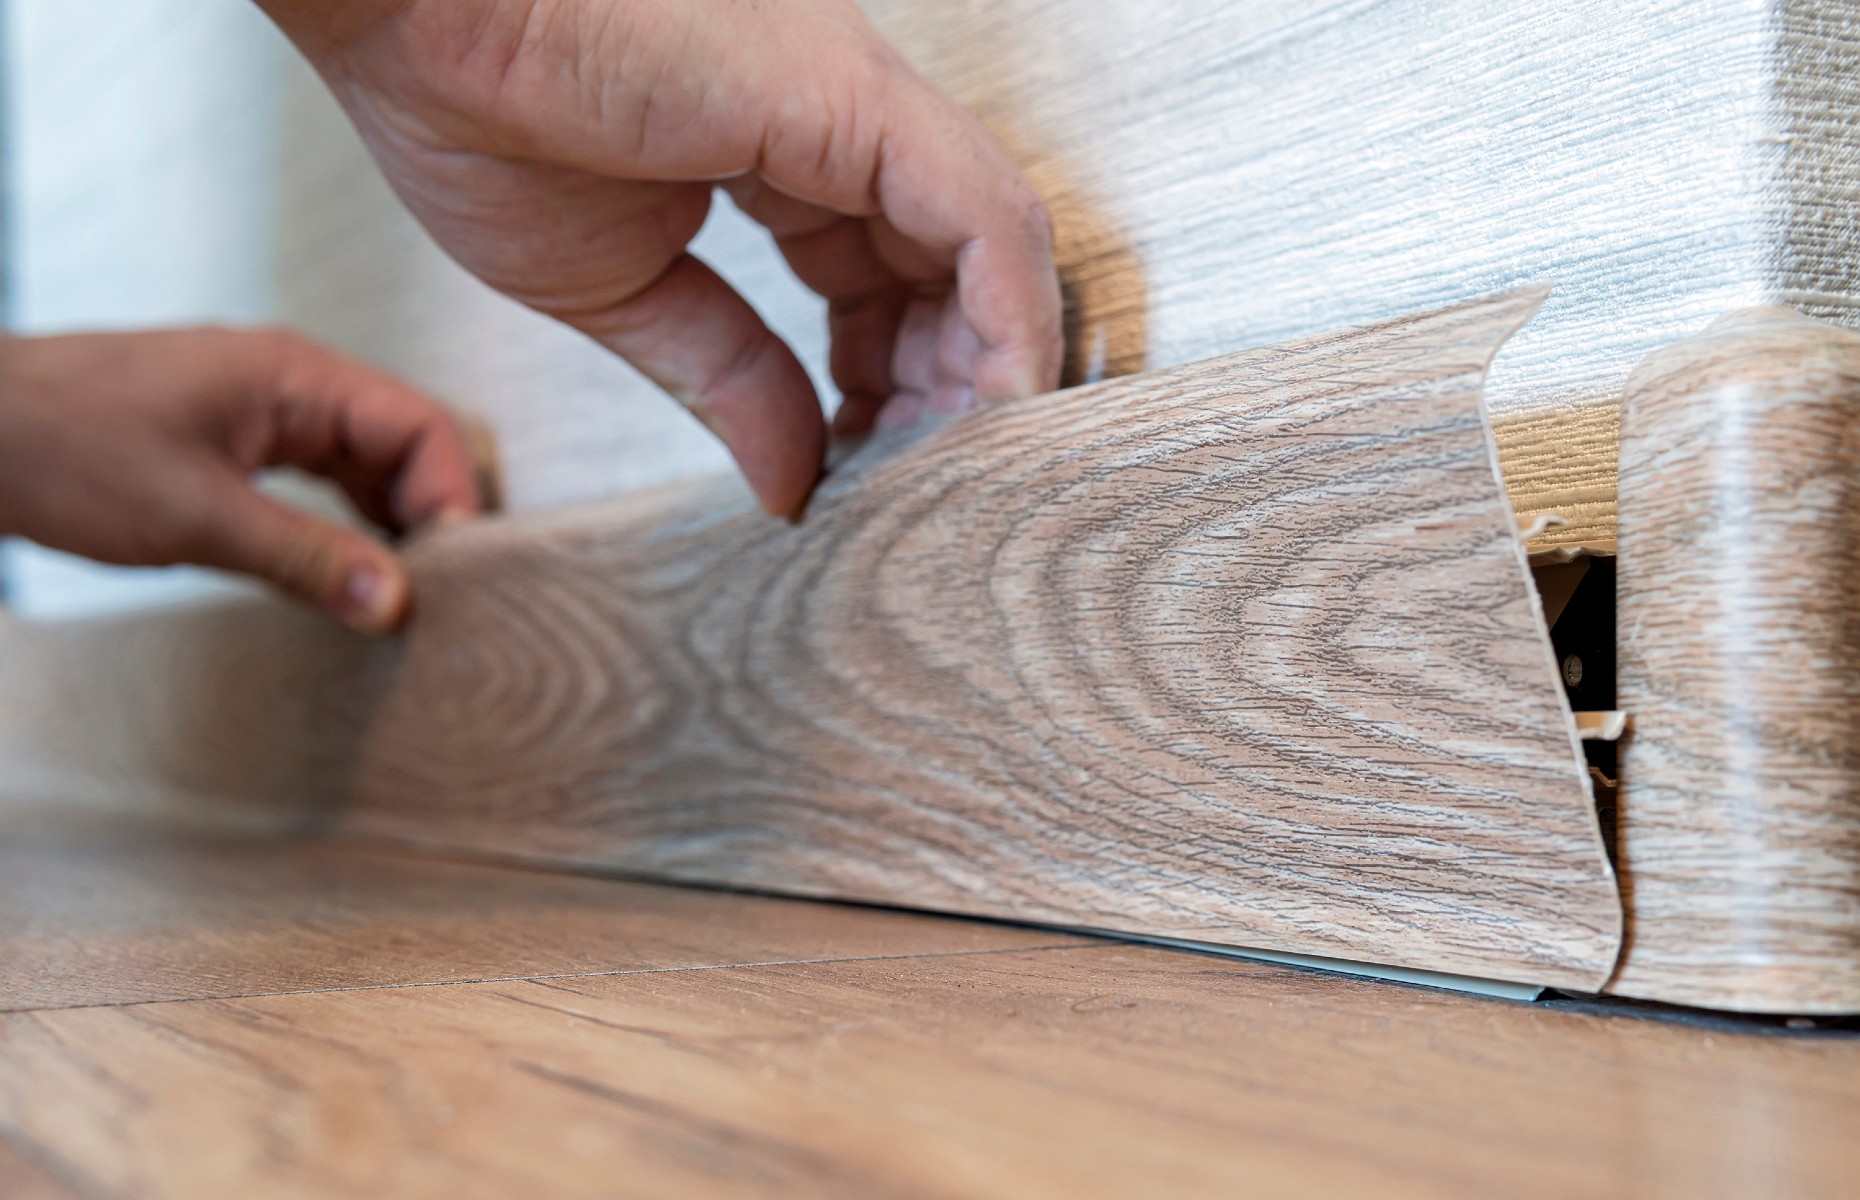
- Remember to put a spacer between the wall and the laminate, then place the tongue edge of the new board into the groove edge of the previous row at a 20- to 30-degree angle. Gently place it down to secure the rows.
- Line up the next board and lift it at an angle again. Press the board down to click it into position and repeat this step until the row is complete.
- If there are any boards that don’t align perfectly, use the tapping block to push them together.
- Continue to lay your flooring using the same process, cutting boards when needed to ensure there’s enough space between the joins.
- For the final row, use the pull bar and hammer to join the boards with the previous row to create a snug fit.
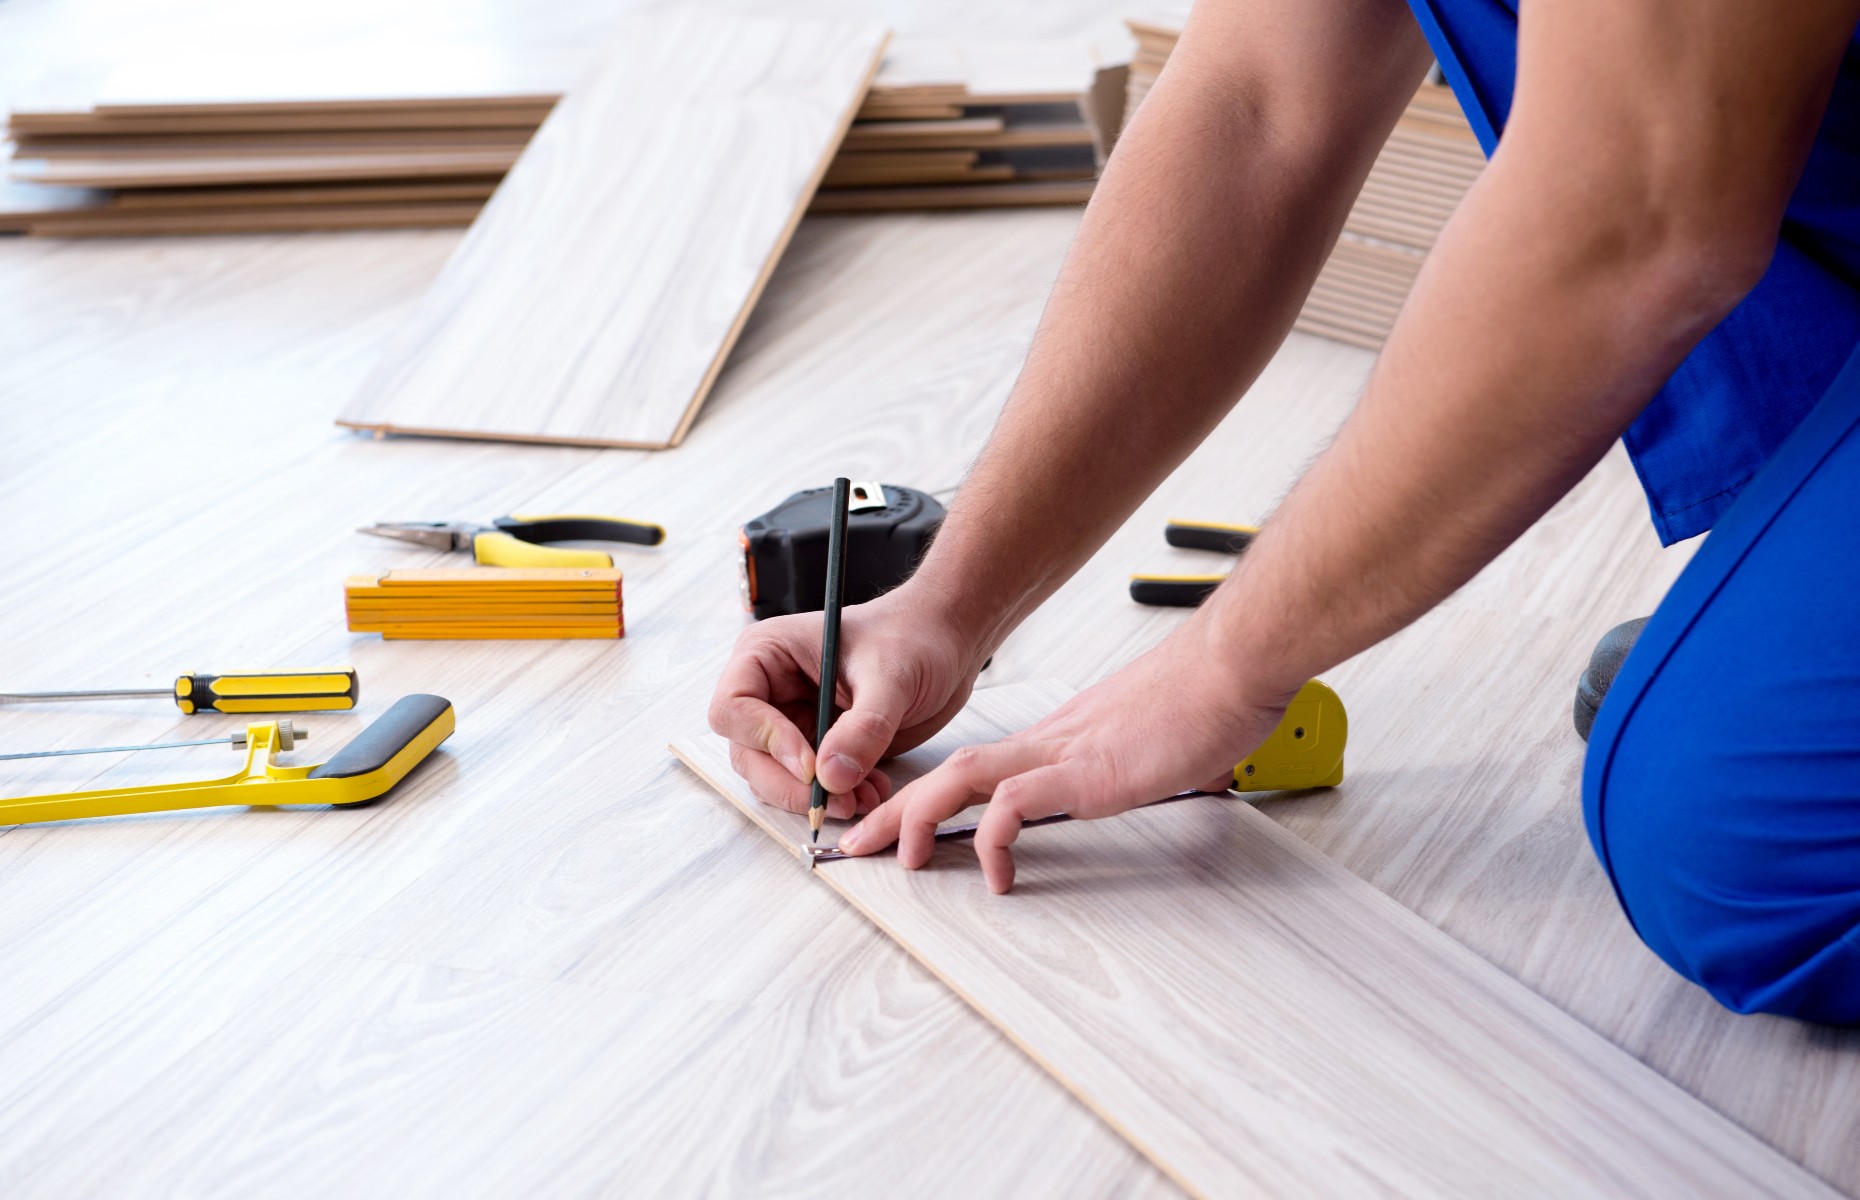
-
If you need to fill a gap between the board and the door, you’ll need to measure the distance between the outer edge of the architrave on either side. You’ll then need to measure the gap between the first row and the door and mark these measurements on a board to cut.
-
Lay the board against the architrave and mark exactly where you need to trim the ends so the board can easily slide under it.
-
Use a jigsaw saw to cut along the guide marks, then slide the first two rows of boards away from the doorway and join the pieces of board you’ve just cut.
-
Slide everything back into place so the leading board fits beneath the architrave perfectly.
Caring for laminate flooring
Once you’ve successfully installed your laminate flooring, keeping it well maintained will ensure it lasts for as long as possible.
Laminate flooring is easily scratched, so using felt pads on furniture legs, avoiding wearing high-heeled shoes and keeping any pets’ nails trimmed can prevent the surface from becoming marked.
Regular cleaning will also help to keep the floor in tip-top condition, as well as removing outdoor shoes before entering the room.
Use a soft-bristled brush and warm water to remove any dirt and avoid using a steam cleaner, harsh detergents and abrasive cleaning products or pads, as these may damage the floor.
READ MORE: Amazing real home makeovers: before and after
Featured image: ESB Professional / Shutterstock
Comments
Be the first to comment
Do you want to comment on this article? You need to be signed in for this feature