20+ DIY errors to avoid at ALL COSTS
Steer clear of these decorating disasters
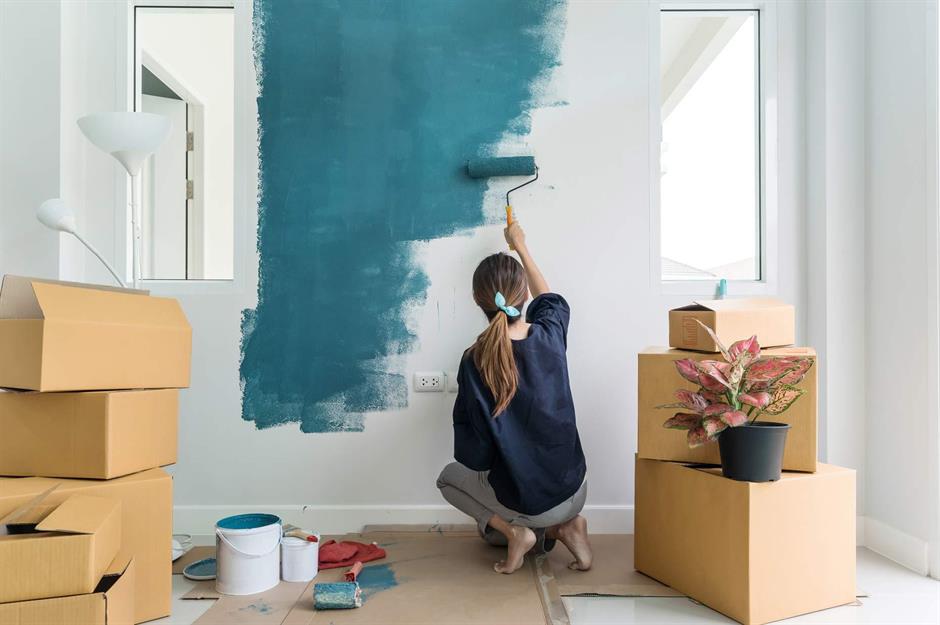
More and more of us are rolling up our sleeves and tackling those long-overdue decorating projects. However, good intentions don't always make for good results. Research from storage specialists BiGDUG has revealed a catalogue of DIY disasters. Back away slowly from the hammer and put the paintbrush down. Click or scroll to see the home improvement mistakes you’ll wish you hadn’t made...
Not covering furnishings before decorating

Forgetting to measure furniture

After a six-week wait, your brand new bed finally arrives. But although it looked great online, it takes up the whole room, leaving no space to manoeuvre. Always measure out the dimensions of your prospective purchase in the area you want to put it before you make an order to ensure it fits. If you're dealing with an especially small space, opt for furniture ranges designed for tiny living – this snug cabin bed from IKEA is the perfect buy for a tight corner.
Sponsored Content
Taking up floorboards

Ripping up flooring or trying to make repairs to wooden boards is one DIY project that can seriously backfire. For example, trying to fix a creaky floorboard by securing it with a new nail could be particularly disastrous if you hit a pipe or cable. This project is best left to the professionals or competent DIYers.
Neglecting to read the instructions

Fitting your own bathroom

DIY is a satisfying way to save money, but unless you have significant experience under your belt, fitting a bathroom is probably a job best left to the professionals. Plumbing and pipework really aren't worth tinkering around with. Best case scenario? Shiny new taps. Worst case? A leak causes the ceiling below to fall in.
Sponsored Content
Impulse buying online

While there are many bargains to be had online, it's worth taking the time to double-check your purchases before your splurge. Glossy pictures can be deceiving so read the reviews to ensure you're getting a quality item. Inspect the product details carefully too or you might end up with something a little smaller than you had in mind. Imagine ordering a bargain set of dining chairs, only to receive these adorable chair-shaped hooks! Perfect for a doll's house...
Repairing a crack in the wall

As many as 17% of us have run into trouble when filling in unsightly cracks, according to BiGDUG's findings. When fixing cracks and holes in your walls, be careful not to use too much filler or you’re likely to end up with glaring lumps and bumps, making those pesky cracks even more noticeable. Not a good look.
Running out of supplies

We've all been there, halfway through tiling the bathroom, you discover you've underestimated how many tiles you need. There’s nothing more frustrating than starting a job only to realise you don’t have enough materials to finish it! Before you begin a project, double and triple-check the required quantities to avoid getting caught out.
Sponsored Content
Paint spills

Wonky shelving and picture frames

Removing more than just the wallpaper

Sometimes removing old wallpaper can result in whole chunks of plaster dislodging too. To avoid having to replaster, you can loosen strippable wallpaper by carefully lifting it away from the wall at the corner with a putty knife. However, if you're dealing with traditional wallpaper, you may have to scrape away the residue using hot water and wallpaper stripper – if the wall underneath is plasterboard, be careful not to use too much water as this can damage the board.
Sponsored Content
Hanging pictures too high up

A splash of colour from a framed picture is a fantastic way to add a bit of personality to a space. But it’s important that you don’t have to strain your neck to look at it – no one wants a gorgeous gallery wall that's too high to admire. As a rule of thumb, hang your artwork so the midpoint is 57 inches from the floor.
Not testing your paint colour

That shade of blue looked great on your laptop screen but it’s a whole different story once it’s on your wall. One of the most common DIY mistakes is skipping the sample pot before committing to a bold new colour in your home, leading to more than a few regretful paint projects. Always apply a sample patch first – some brands even offer adhesive colour swatches so there's no need to lift a paintbrush.
Repairing lead-based paintwork

Stripping back old window frames to their natural wood can really add character to your home. Unfortunately, if your home was built before the 1970s, there's a chance your paintwork may contain toxic lead. As long as the surface hasn't been broken, it doesn't pose a health risk, however, if it deteriorates or you chip away at the paint, it can be dangerous. If you suspect your paintwork is lead-based, it's important not to touch it and to get a lead removal specialist in.
Sponsored Content
Not covering light switches when painting

Lots of painting projects have extended beyond just the walls, with an accidental lick of paint added to light switches too. It might not seem like an important step, but covering switches and sockets will give your home a tidier, more professional finish. Otherwise, those flecks of wayward paint will soon become an annoyance and you'll be wishing you took the time to do the job properly.
Starting without the right equipment

Whether you're building a bookcase or mounting a shelf, don't get stuck in unless you have the right tools for the job. Be patient and wait until you're armed with everything you need. The last thing you want is unsafe furniture in your home!
Making it worse than if you’d just left it

If your DIY skills leave much to be desired, it might be best to steer clear of the hammer altogether. Otherwise, a simple project to hang a mirror or fix a small crack could quickly escalate into a gaping hole in your living room wall. Exercise caution and be realistic about your capabilities – there's no shame in calling in a pro.
Sponsored Content
Taking on too much

It's all too easy for a simple decorating project to turn into a major home renovation. Left to their own devices during lockdown, many homeowners may have taken on a little too much. However much you want an airy, open-plan layout, serious structural changes like demolishing internal walls should always be carried out by qualified tradespeople. Otherwise, you'll likely end up with an unfinished eyesore, if not a serious injury.
Using out-of-date paint

With a tight budget you might be tempted to take a gamble on that old tub of paint that’s been sitting at the back of the garage for years. However, paint that's out of date or that hasn't been properly sealed is likely to smell and leave a rough finish when you try to apply it to walls; not a good look. Remember to keep paint can lids secure and store your paint in a dry location, preferably on a shelf to minimise rusting.
Not using painter's tape

If you fancy taking on a creative paint decorating project, perhaps a two-tone statement wall or colourful mural, it's important to be precise. Plan your design beforehand and use a good quality painter's tape to mark it out on the wall to keep your lines level and crisp. If you try and make it up as you go, you'll end up with wonky shapes and an untidy finish. It goes without saying that you should always protect your skirting boards with tape...
Sponsored Content
Only measuring once

Drilling through wiring

Not prepping walls before painting

It’s all in the prep. No matter how nice that new paint colour is, it won't have a flawless finish if you apply it to uneven walls. Before you reach for the paintbrush, be sure to fill in any cracks or holes and give the surface a good sand if it's bumpy. Once the walls are smooth, dry and free of debris, remember to apply primer prior to painting to stop the wall becoming porous.
Loved this? Follow us on Facebook for more decorating disasters